A lot of us own tablets this days, they offer the nice big display, with the same features as your phone (or PC, if you have a Windows tablet). They are great for multimedia content, such as playing games, following up on the latest videos from your favorite YouTube channels,…
But a lot of times, specially if you are someone who wants to use the tablet for more than just watching videos and playing, then you find yourself in a struggle. The touchscreen is great as far as regular apps go, but if you are trying to take some notes, write a paper, or edit a spreadsheet, well, it’s not fun. However, there are options for us savvy people out there, and today, I’m going to walk through the process on how I turned my Nexus 9, into a nice little workstation.
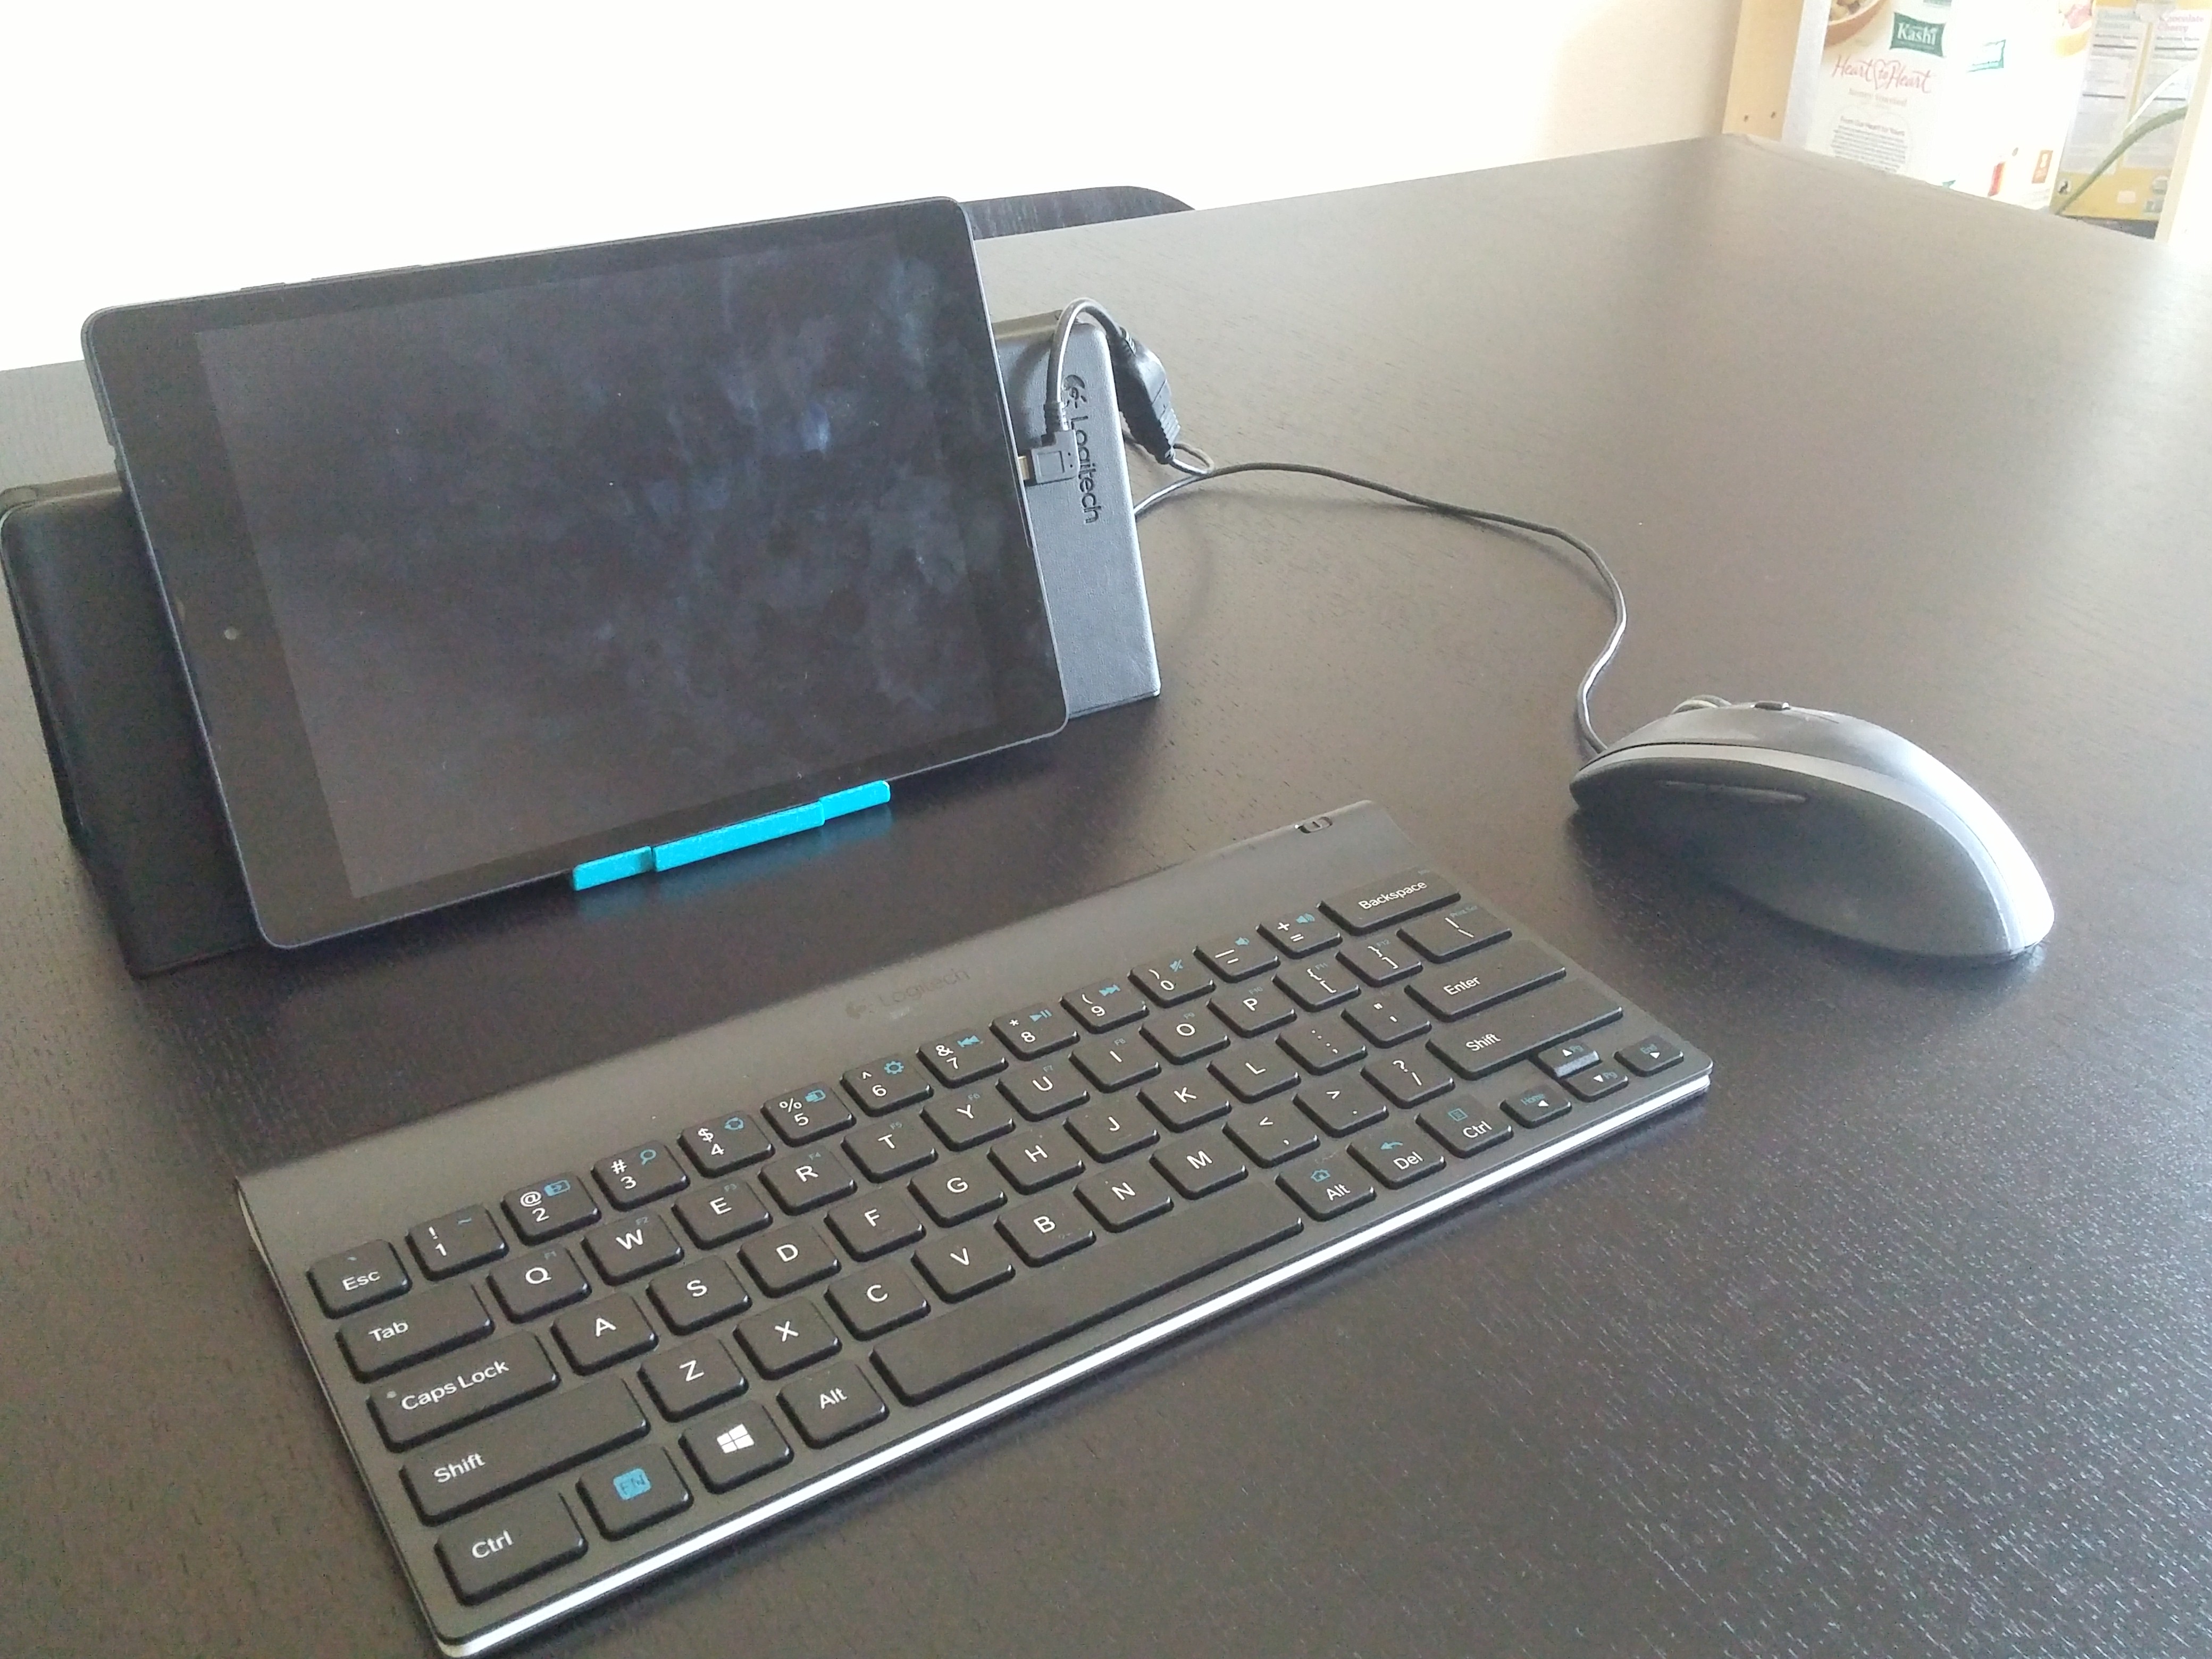
First we need a keyboard, of course you are not going to type a 1000 word document with your hands, and if you are taking notes the touchscreen method is way to slow to be able to follow. Now the problem is that a fully sized keyboard is great, but it’s not the best if you are on the move, so I got a nice Logitech Bluetooth Keyboard. It comes with a stand, which is also you carrying bag, that will allow you to place the tablet in landscape or portrait without having to worry about it falling over.
The Keyboard
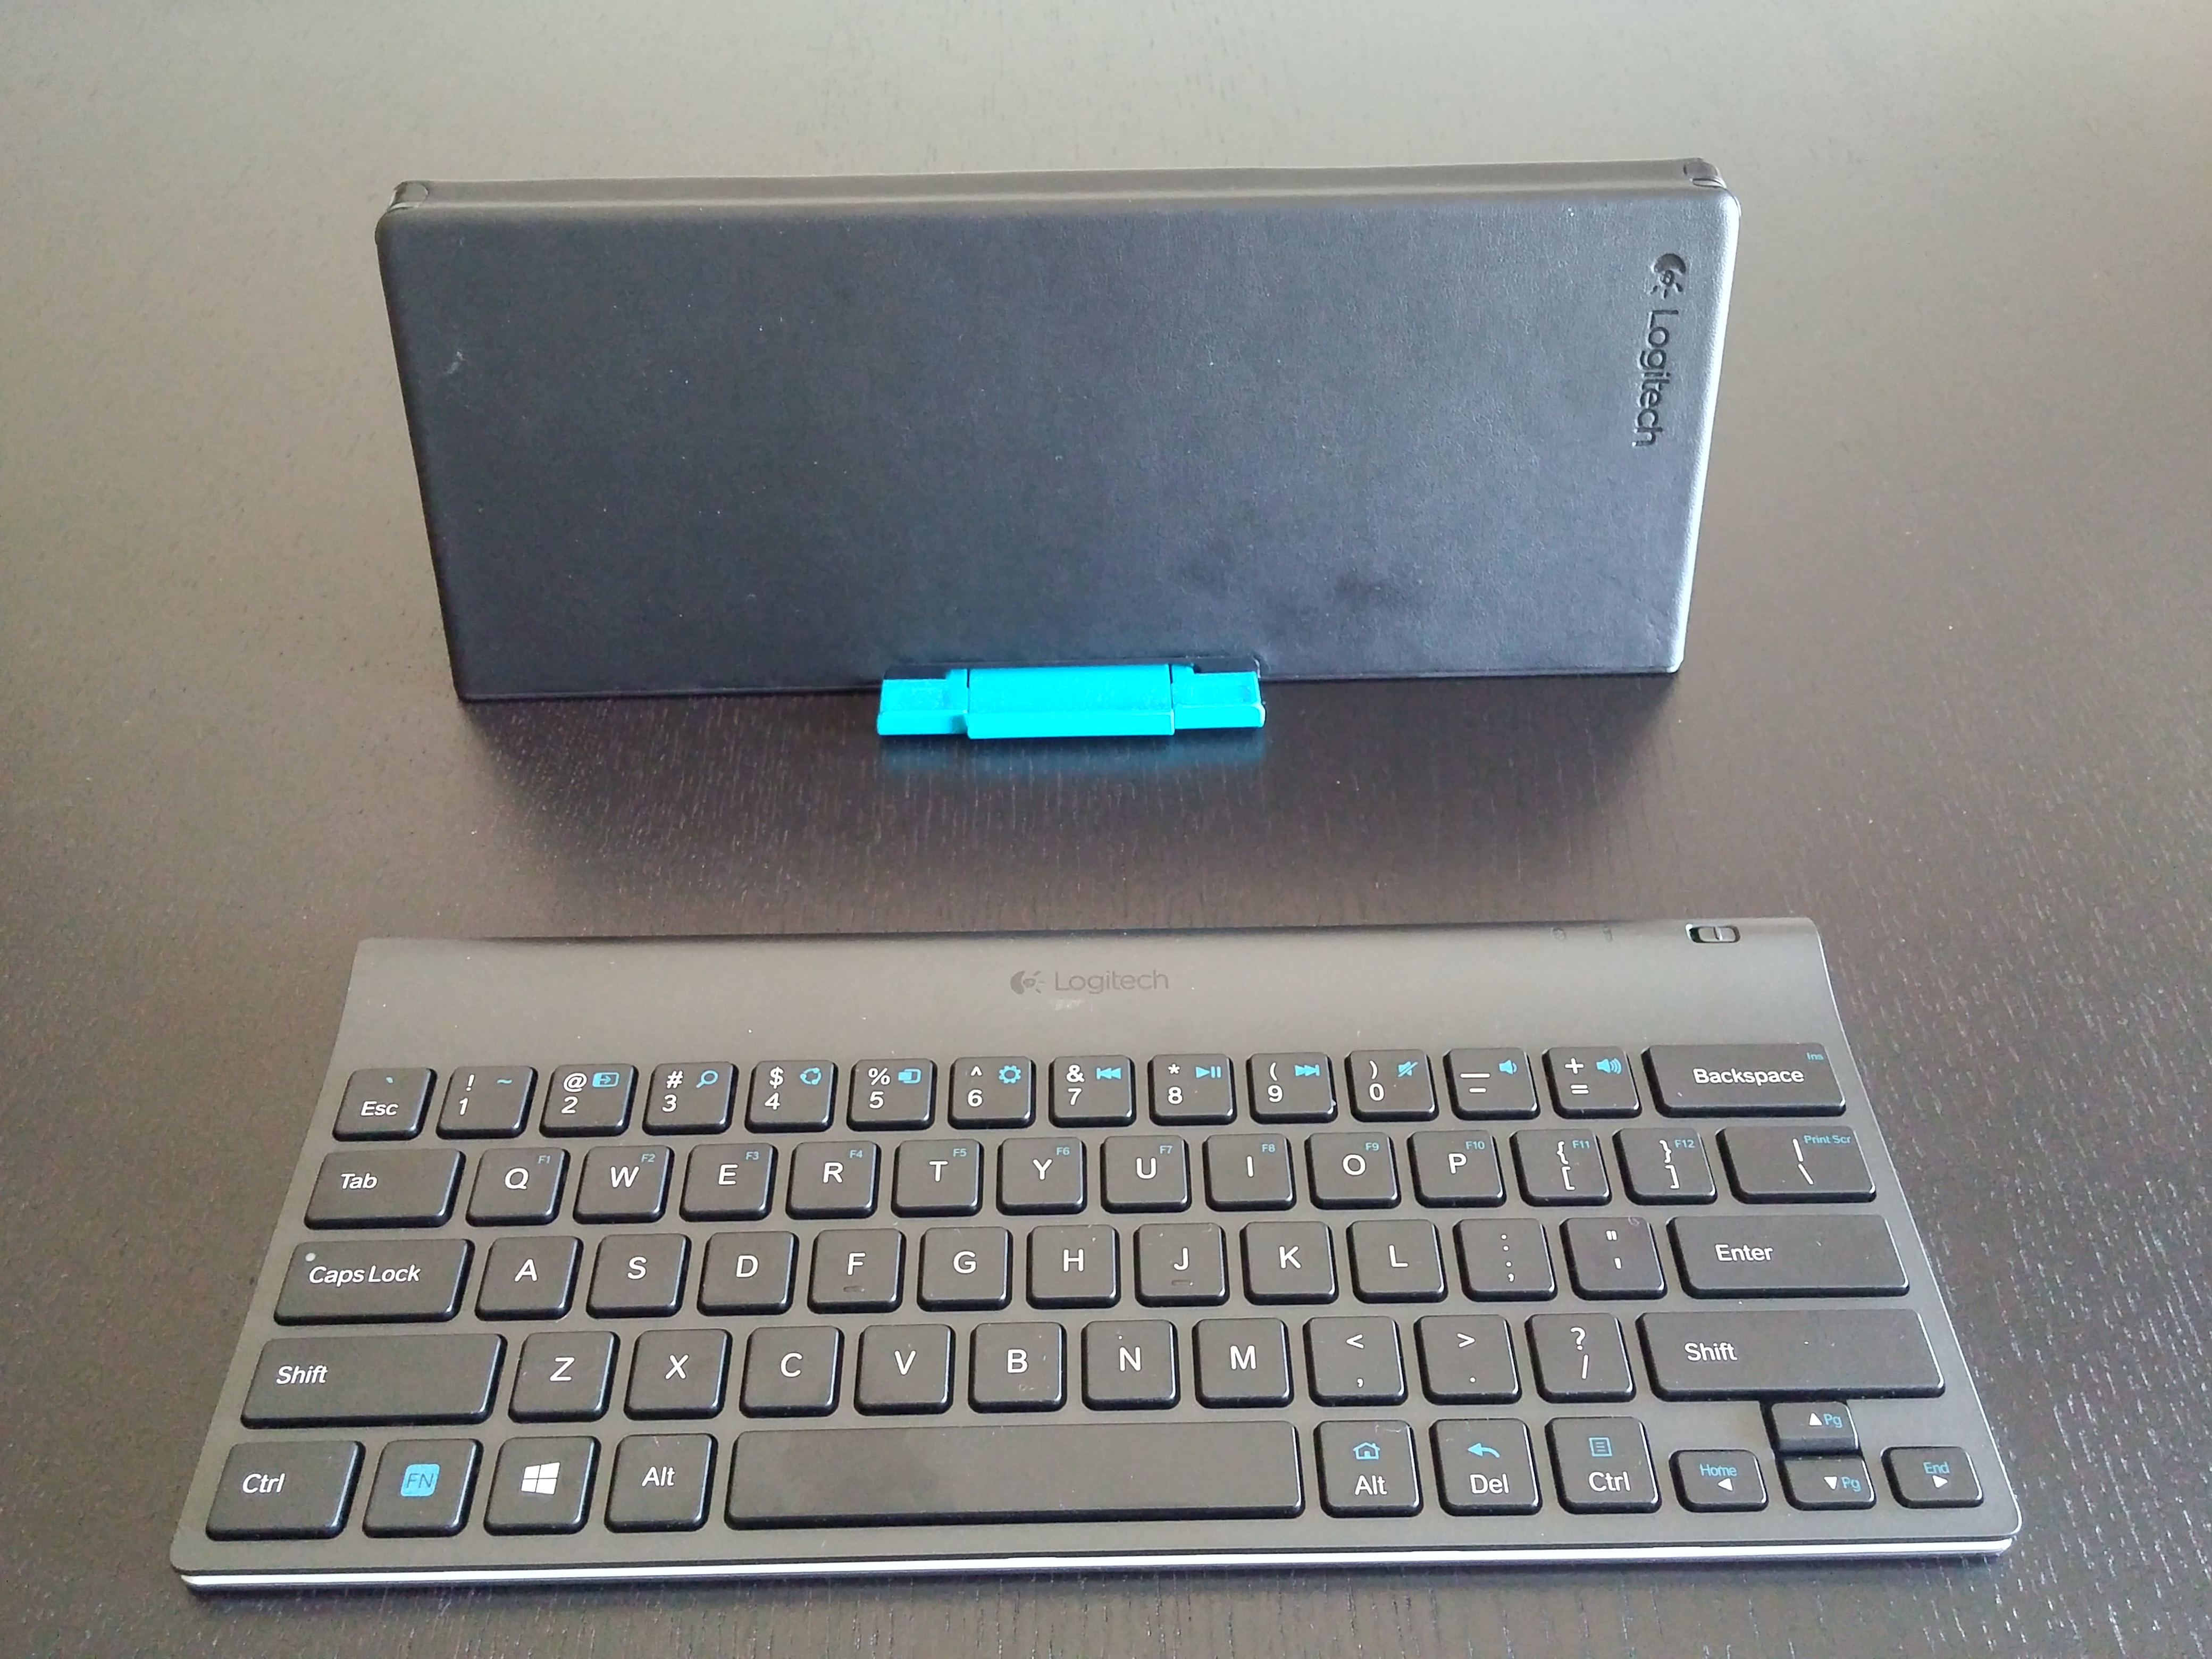
The keyboard is not full-size, but its comfortable, and you won’t be pressing 4 buttons at the same time. They keys have a nice press-feeling (probably not the best term), which is not as if you were typing on a mechanical keyboard (I have one for my desktop, and I love it), but it’s not bothering either. They keyboard uses 4 AAA batteries for power, and the Logitech site states that the battery-life can be near the 10 month mark with “normal use” (what they mean with”normal use” is not clear). The setup of the keyboard is really straight-forward, first turn on the keyboard, then turn on the bluetooth on the tablet, go to “Settings”, “Bluetooth”, and then select ‘Logitech Tablet Keyboard” or the name of the keyboard you own. Tap on the name, and it will prompt a code, for me it was a matter of typing the code on the keyboard and pressing “Return” or “Enter”, and I was all set.
Click here to see the keyboard on amazon
The Mouse
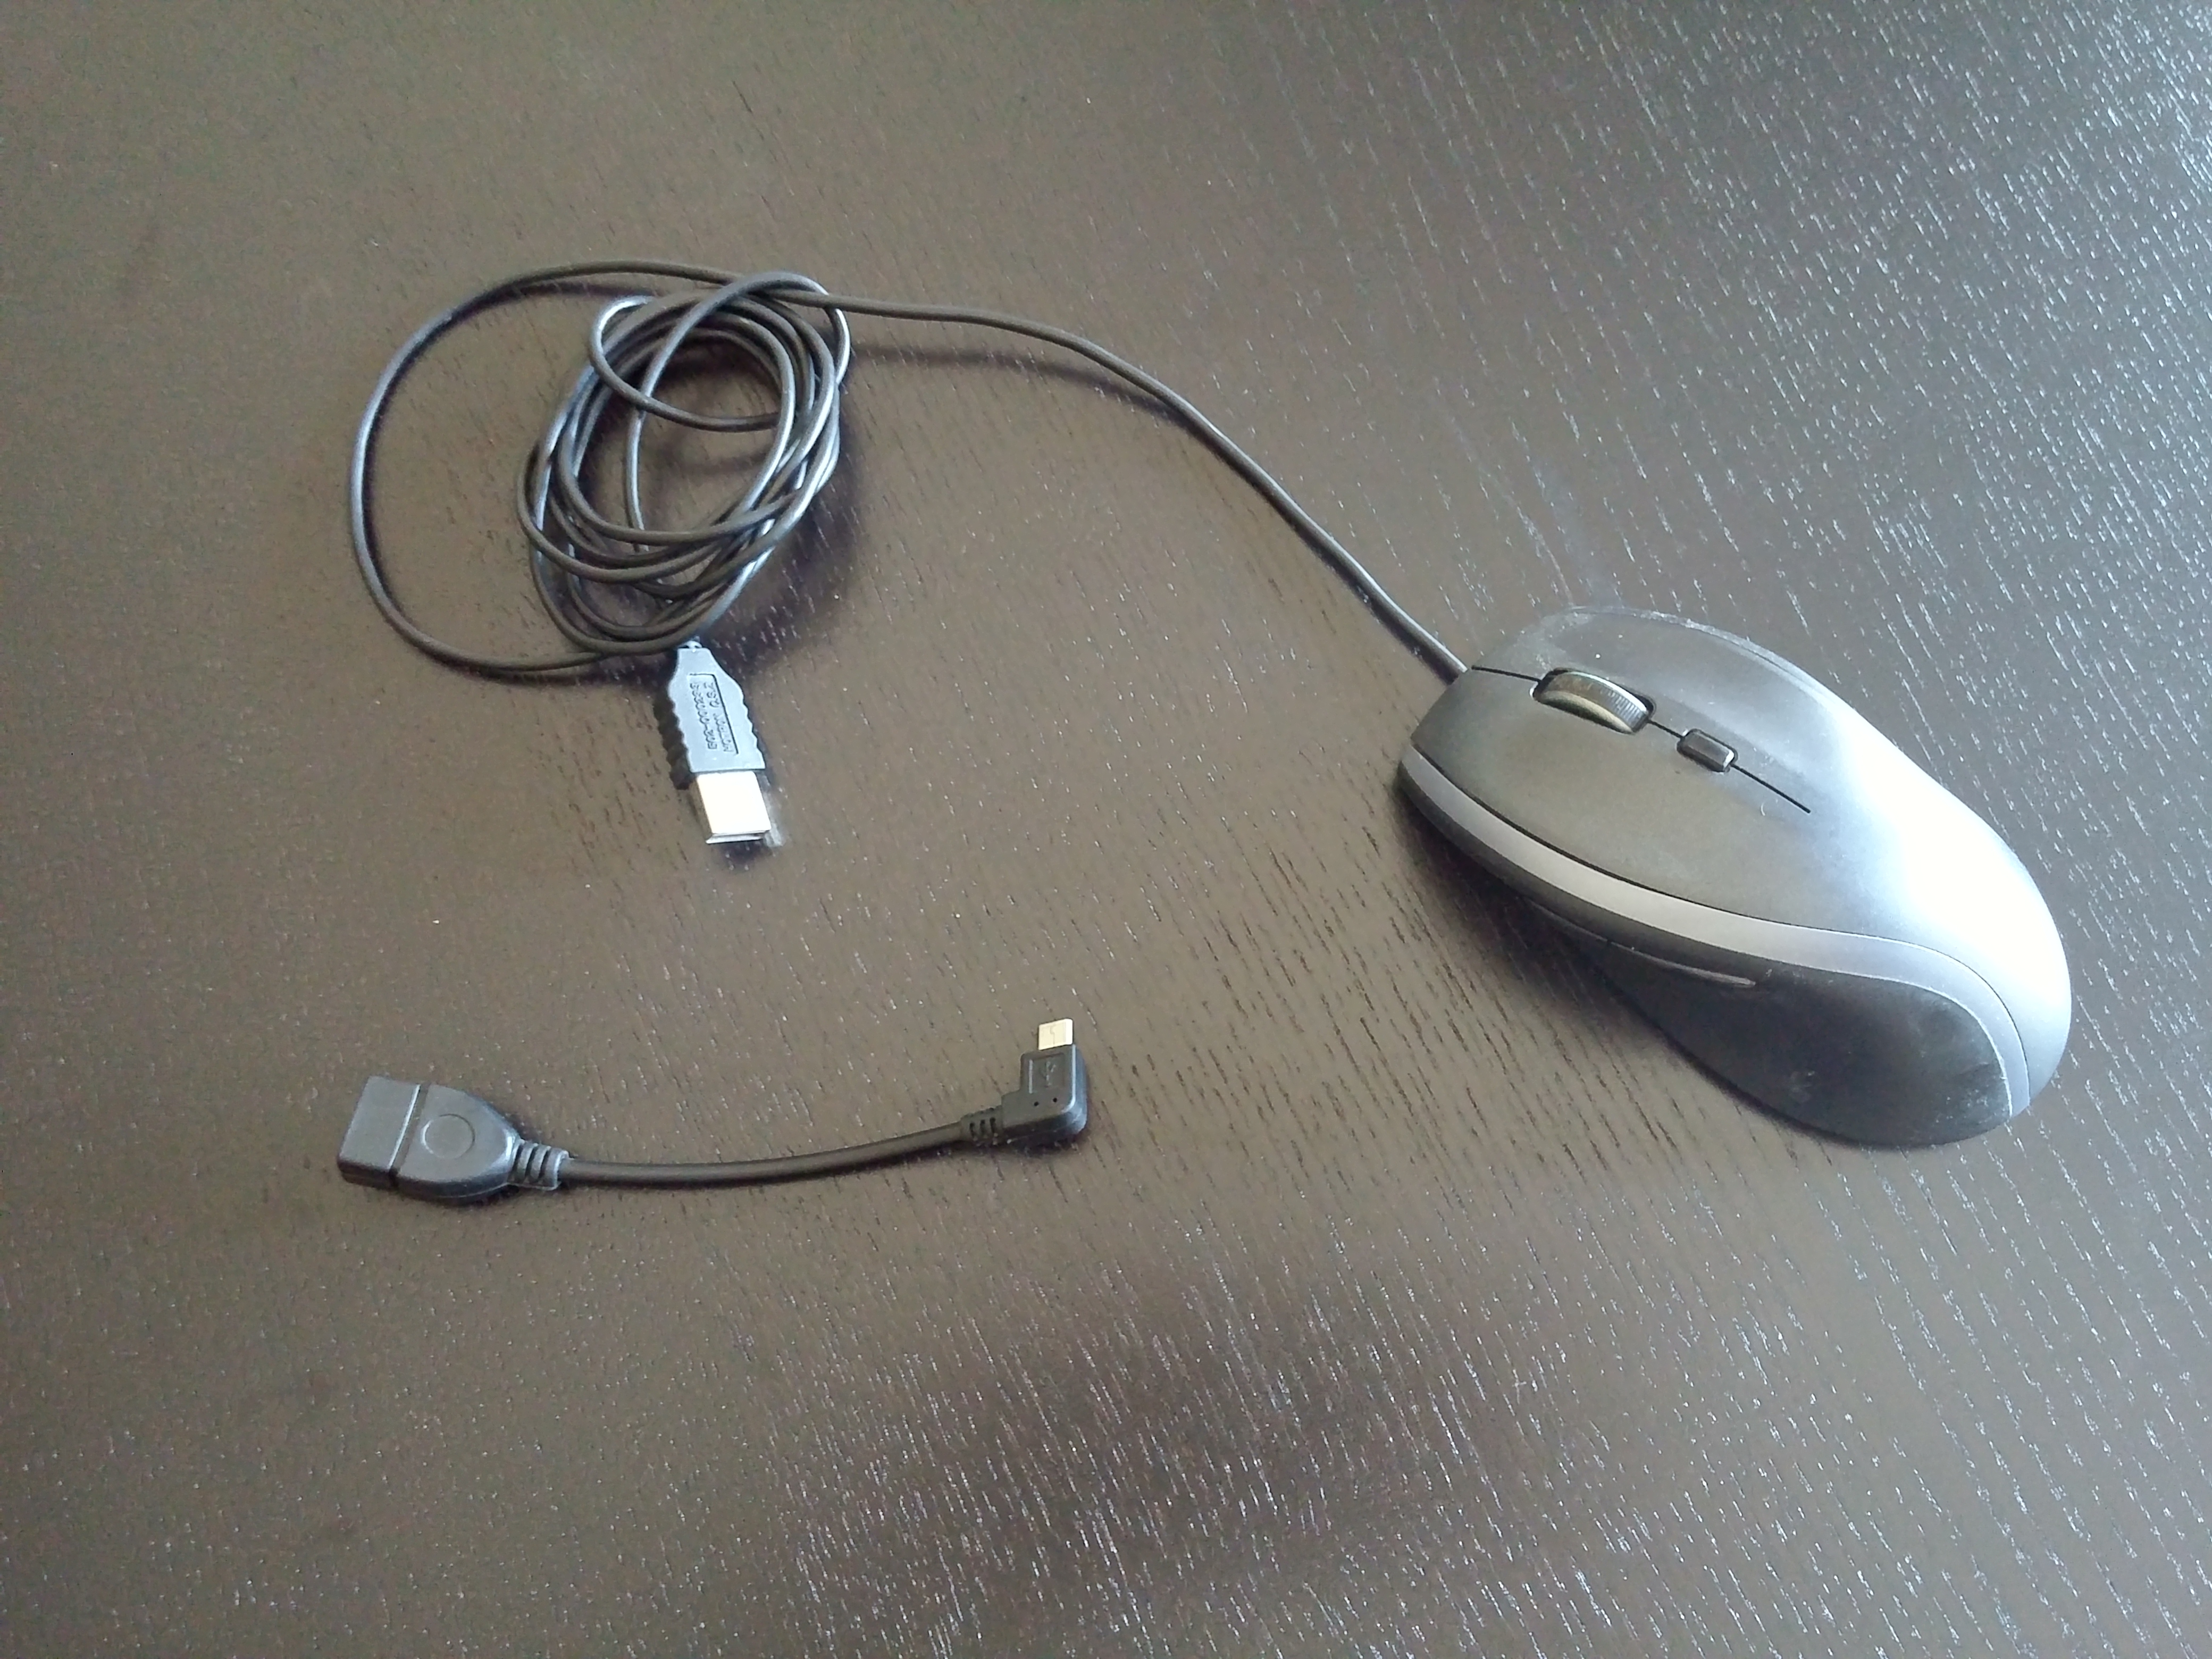
Now let’s set-up the mouse as well. This process varies depending on which mouse you choose to use, but for the general public, I chose to go with a normal USB mouse I had laying around. The only requirement for this process is a little adapter :
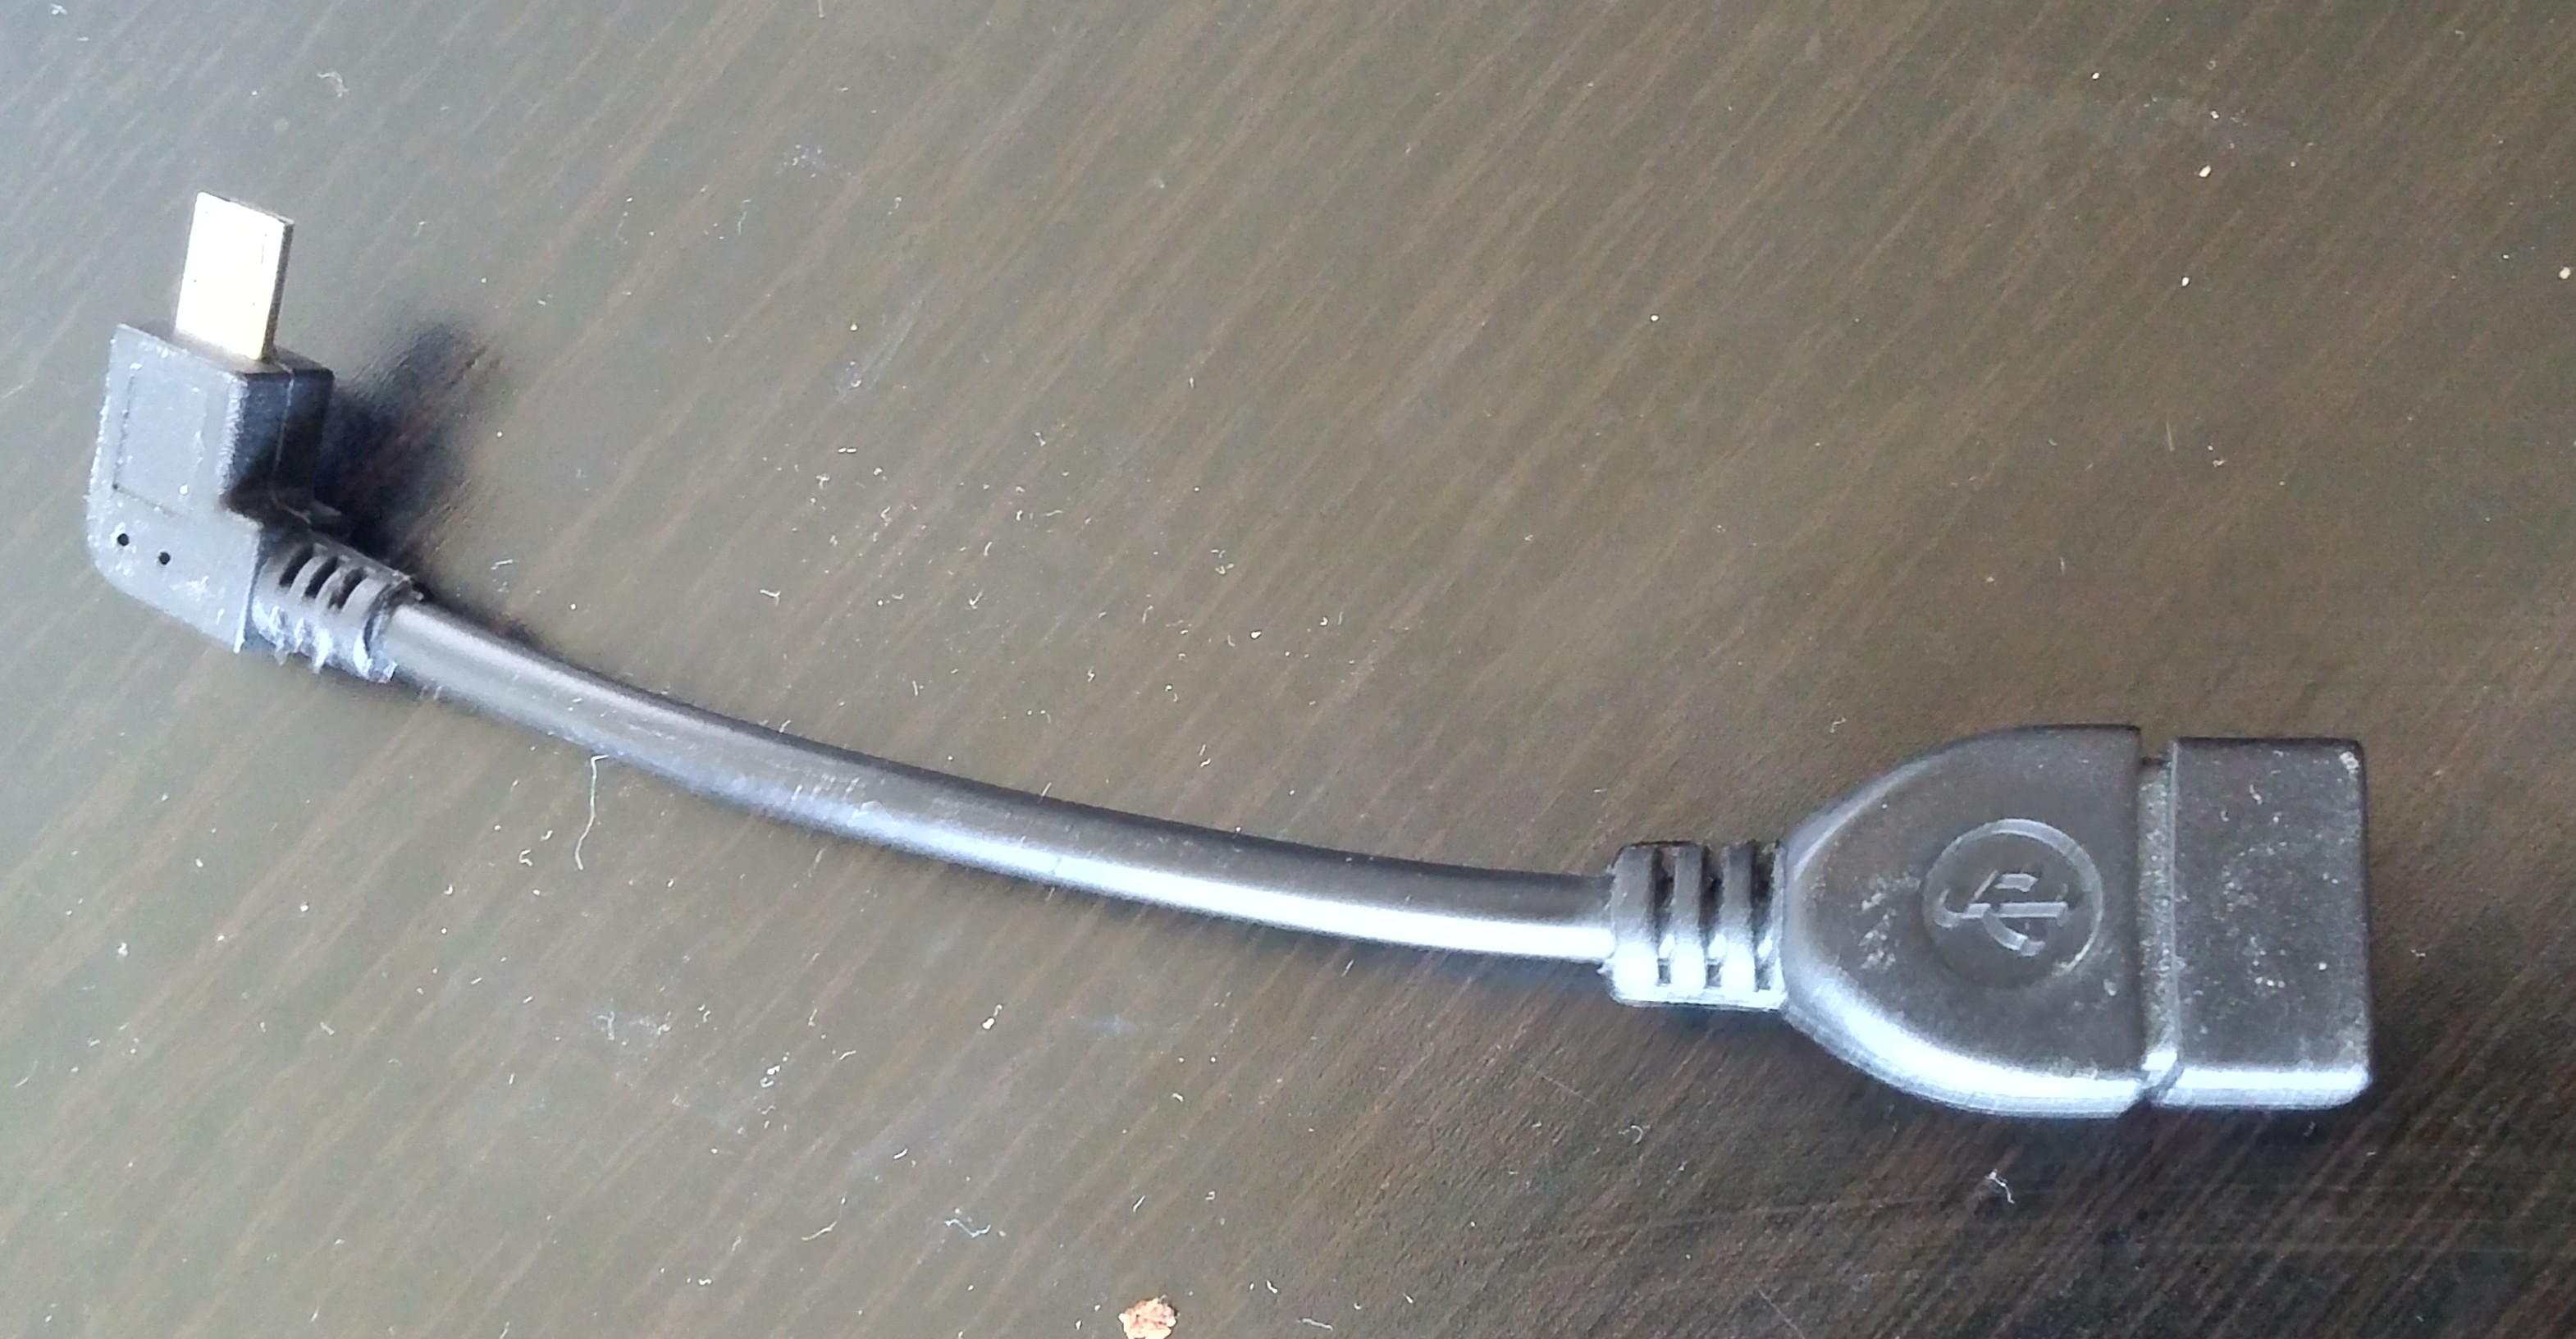
This little guy simply turns the full-sized USB connector into a micro-USB, which plugs into your device.
Click here to see the adapter on amazon
Once you have that, simply plug everything, and the rest is done by the tablet. You will now its working when you see a little cursor appear on the screen.
Pretty simple right? As a bonus, I also wanted to show how I used TeamViewer to use my PC from the Tablet, turning the Nexus 9 in a “real PC”.
Remote Desktop Control
This process is also pretty simple, first you will need TeamViewer, which is completely free if you use it as I did, for personal use. Go to the TeamViewer webiste (here) and download the version that fits your machine (Windows, Mac,…). You will also need to install the app on your device, so go to the Play Store and search for TeamViewer.
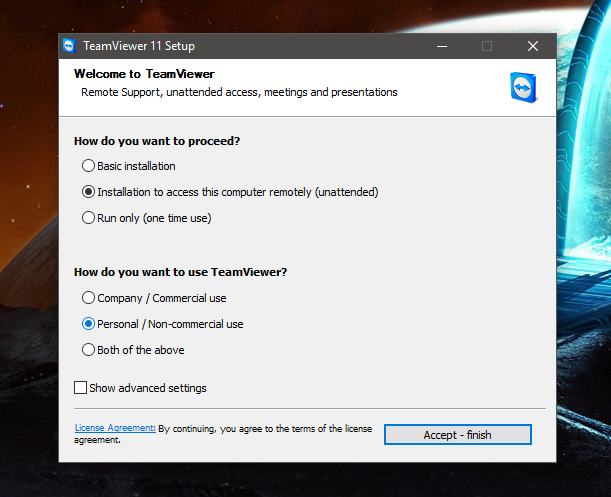
Now let’s install it in your desktop, click on the installer, and it will ask you how you want to set it up, for our purposes we are going to check “Installation to acces this Computer Remotely (unattended)”, and check “For personal use / non-commercial”, as well.
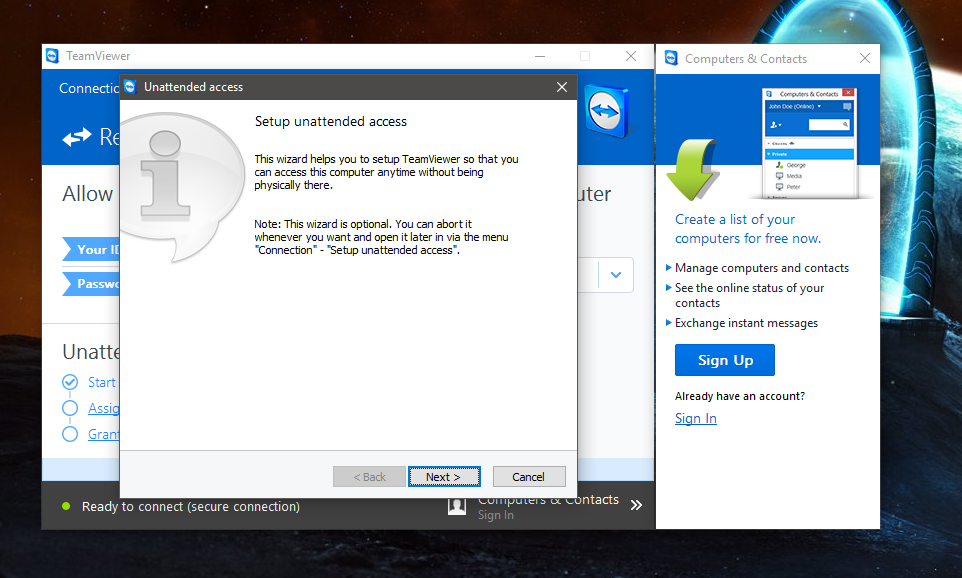
Once completed it will notify you that the installation is complete and the program will open, there is a 2-step setup, which only asks for a name for the computer, and a password. On the next screen it will ask you to register, which is simple. After you have completed this, the program is now ready to use.
The last step is as simple as opening the app on your tablet, and sign into your account, and choose the computer you’ve just set-up. After that you will have your new “Workstation” ready to use, and your tablet is now more powerful than ever…
Sergio.
2 Comments
Rafa · 8 April, 2016 at 5:09 AM
Simple and clear. Thank you, sir!
Ruben · 12 April, 2016 at 3:00 PM
Thank you it, is a really good way of using the tablet , i love it!